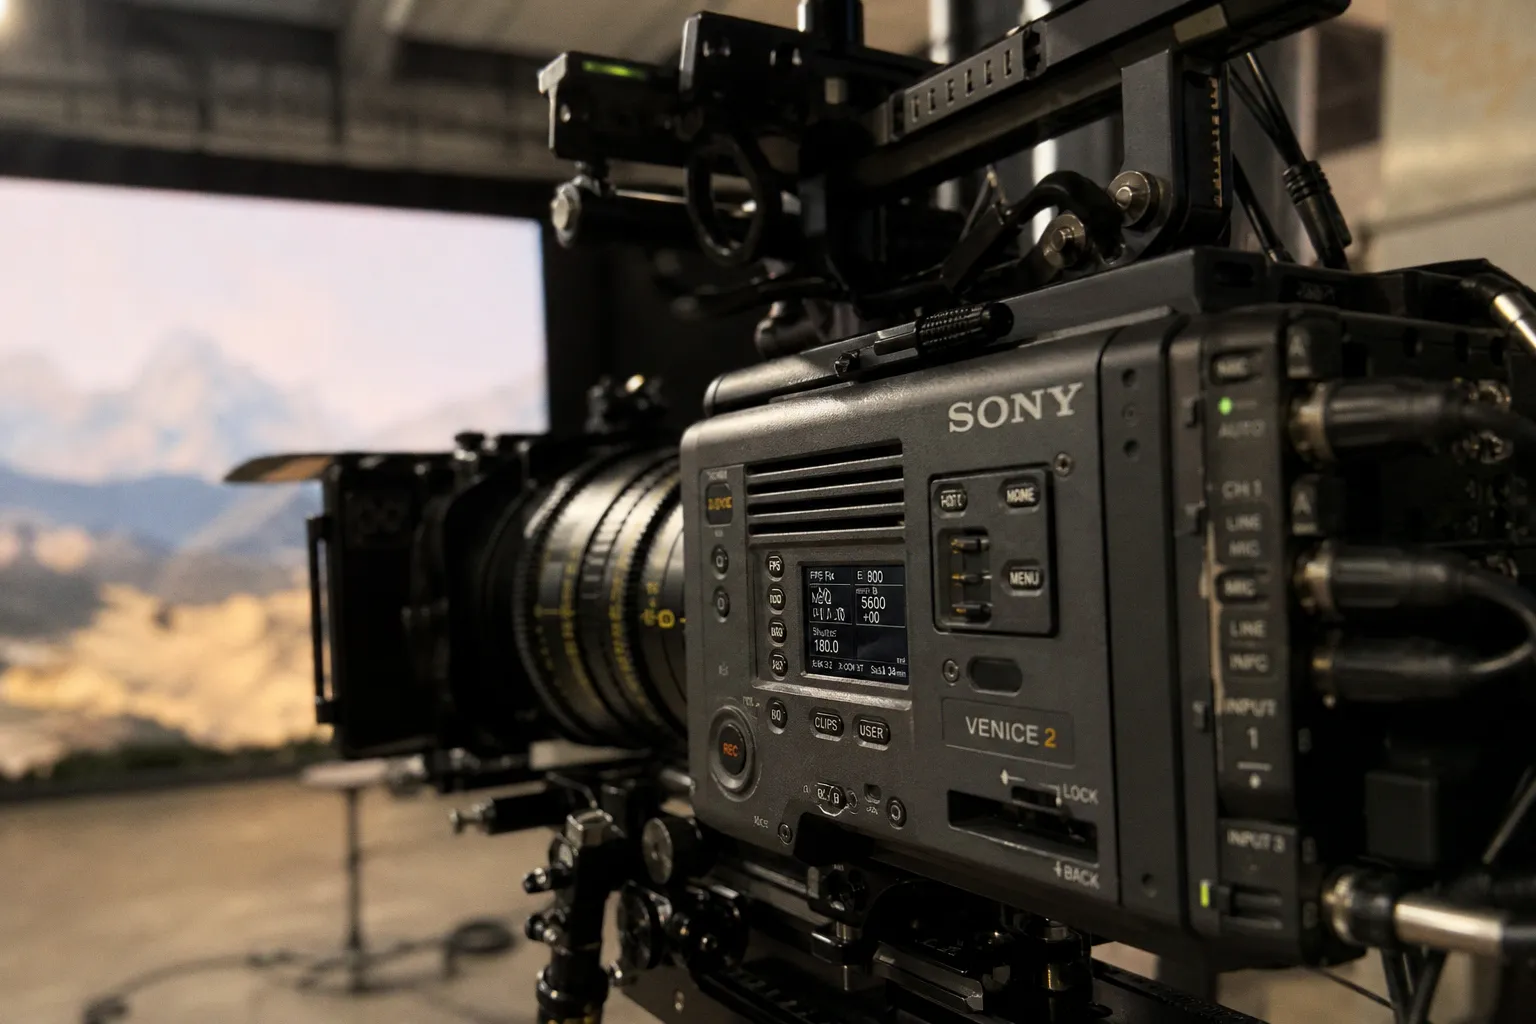
You’ve got the Sony Venice 2 rolling. The 8.6K sensor is breathing life into a hyper-real LED environment. The actor hits their mark, the light is perfect, the scene plays.
The One Frame That Ruins Your $100K Take: Mastering Venice 2 Focus on the LED Volume
The moiré battle is won in pre-viz and camera setup, not in post. On a volume, what you shoot is what you get—and bad moiré is baked into the footage.
Forget the vague advice to "mind your distance." We’re breaking down the exact calculations, the gear, and the workflow to make the Venice 2 a moiré-killing machine on any LED stage.
The Physics of Pixel Pitch and the Unbreakable Distance Rule
Every LED wall has a physical pixel pitch—the distance in millimeters between the centers of adjacent pixels. This number is your starting point for everything. The fundamental rule is deceptively simple: the minimum distance in meters between your camera’s sensor and the LED wall should be no less than the wall’s pixel pitch in millimeters. Got a wall with a 2.3mm pitch? Your camera needs to be at least 2.3 meters back. Period.
This is a conservative baseline. For live events where camera movement is dynamic, a more robust rule is to multiply the pitch by three to get your safe distance in feet. That same 2.3mm pitch wall demands a 6.9-foot buffer. Why the disparity? The first rule assumes a static, controlled cinematography setup; the second accounts for the unpredictable angles and frantic energy of a live broadcast.
But this is just the opening move. Knowing the distance gets you in the ballpark. Controlling focus and aperture is what wins the game.
Weaponizing the Venice 2’s Large-Format Sensor for In-Camera Blur
This is where the Venice 2’s hardware becomes your greatest ally. Its massive 8.6K full-frame sensor isn’t just for resolution—it’s a depth-of-field weapon. The larger the sensor, the shallower your depth of field at any given aperture and focal length. This is critical.
Your goal is to keep the LED wall physically outside your camera’s focus plane, letting the sensor’s natural defocus render the pixel structure into a smooth, non-interfering gradient. To do this, you shoot wide open. We’re talking apertures like f/1.2 to f/2.8. At these stops, the depth of field becomes razor-thin. If your subject is 3 meters away and focused upon, a wall 5 meters away will be pleasantly soft, its individual pixels smeared into oblivion.
This is a direct contrast to the green screen mentality, where you’d stop down to f/8 or f/11 to keep everything sharp for the VFX team. On the volume, sharpness in the background is your enemy. The Venice 2’s sensor lets you embrace cinematic blur while still capturing a breathtaking, high-resolution subject. Pair this with a fast prime or a high-end anamorphic lens—whose unique focus roll-off and oval bokeh further degrade the LED structure—and you’ve added a powerful optical moiré filter right into your glass.
Digital Foresight: Sony’s Moiré Alert Plugin is Your On-Set Oracle
Guessing distances and hoping your focus puller nails it is a recipe for anxiety. Sony’s Virtual Production Tool Set, integrated into Unreal Engine, changes the game with its Moiré Alert plugin. This isn’t a post-check; it’s a pre-visualization powerhouse.
Here’s how it works: you load your virtual set into Unreal, define your LED volume’s physical specs (pixel pitch, curvature), and set up your virtual Venice 2 camera with the exact lens and sensor settings you plan to use. The plugin then runs a simulation, calculating the precise interaction between the virtual camera’s focal plane and the "virtual LED wall." It generates a real-time heatmap overlay on your preview monitor, highlighting areas where moiré is likely to occur based on your current focus distance and lens choice.
You can then move the virtual camera, adjust the focus, or swap lenses in the pre-vis environment to find the "sweet spot"—a composition where the alert is clear. This data becomes your on-set bible. When you bring the physical camera onto the stage, you already know the safe zones. It transforms moiré mitigation from a reactive panic into a proactive, engineered choice.
Optical Countermeasures: OLPFs and the Anamorphic Advantage
What happens when you’re forced into a tighter space, or the shot demands a deeper depth of field? You resort to optical filters designed for the problem.
Enter the Optical Low Pass Filter (OLPF). Sony offers specific OLPFs for the Venice 2’s 6K and 8K sensors. These are physical filters that sit in front of the sensor, applying a microscopic, controlled blur that slightly softens the finest details to prevent aliasing and moiré at the sensor level. It’s a trade-off: you sacrifice the absolute pinnacle of pixel-level sharpness for artifact-free imagery. For many virtual production scenarios, where the background is meant to be an environment, not a test chart, this is a brilliant trade. You install it, and it becomes a constant safety net.
Then there’s the anamorphic lens trick. The distinctive focus characteristics of anamorphic glass—how they roll off into defocus and create their signature oval bokeh—are incredibly effective at breaking up the geometric patterns that cause moiré. The streaks of light and the way out-of-focus highlights morph provide a natural, stylized defense. It’s a creative choice that doubles as a technical fix.
Tactical On-Set Adjustments: The 30-Degree Rule and Dynamic Reframing
Even with perfect pre-vis, on-set reality can shift. The final tactical layer is your shooting angle.
Shooting straight-on, perpendicular to the LED wall, is a moiré magnet. The pixel grid of the wall aligns directly with the pixel grid of your camera’s sensor, creating maximum interference. The solution is to introduce an angle. The recommended sweet spot is between 30° and 45° off-axis. This perspective shifts the wall’s pixel structure relative to the sensor’s photosites, scrambling the alignment that causes the pattern. It’s a simple physical adjustment that can instantly dissolve shimmer in your background.
Combine this with your focus puller’s skill. While shooting, if you see the pattern begin to emerge as you rack focus, you have options. You can quickly stop down a third of a stop to deepen the field slightly, or the director can adjust the actor’s blocking to create a more favorable camera-to-wall distance. The key is having a team that understands the why behind these moves. It’s not just "pull focus"; it’s "manage the interaction between the physical set, the virtual environment, and your sensor’s grid."
Treat the LED wall not as a screen, but as a light source with physical properties. Your camera setup must be a response to those properties.
The New Calculus: From Constraint to Creative Control
Mastering the Venice 2 on the LED volume isn’t about avoiding limitations; it’s about leveraging a new set of physics to unlock creative freedom. The distance rules, the shallow depth of field, the predictive software, and the optical tools—they all form a system. This system lets you shoot faster, with more confidence, and achieve a final image that looks seamlessly integrated from the moment it hits the sensor.
The future of virtual production is this tight integration. It’s a cinematographer who knows the pixel pitch of the wall by heart, a DIT who monitors the Moiré Alert heatmap live, and a director who frames with an understanding of off-axis angles. This level of technical choreography is what separates a good virtual production from a truly great, invisible one. And with tools like the Venice 2, that choreography is finally within reach for every serious studio. Just remember, when it comes to moiré, the devil—and the solution—is always in the details.