Here's a number that should stop you cold: a gamma shift of even 0.1 — from 2.4 down to 2.3, say — is enough to crush shadow detail in your lower midtones so thoroughly that a face lit by practicals in a dimly-lit room becomes a muddy, undifferentiated mass.
Why Rec. 709 Demands Hardware-Level Calibration
That's the central problem with Rec. 709 calibration on a display like the Asus ProArt series. The standard itself is deceptively simple on paper: a white point locked to D65 (6500K), a gamma curve of 2.4, and a color gamut that shares its primaries with sRGB. But "shares primaries" is where complacency begins, because the gamma curve is fundamentally different — sRGB hovers around 2.2, and Rec. 709 prescribes 2.4 for dark-room viewing environments. That distinction isn't academic hair-splitting. It's the difference between a grade that holds up in the suite and a grade that collapses the moment it hits a calibrated broadcast monitor.
And if you're trusting your GPU's lookup table — the LUT sitting in your graphics card driver — to carry this precision, you're building your color pipeline on sand. Software-only calibration adjusts the signal *before* it reaches the monitor, which means it clips data, narrows dynamic range, and introduces banding artifacts that no amount of downstream correction can fully recover. Hardware calibration, the kind the ProArt Calibration software performs, writes correction data directly into the monitor's internal IC. The panel itself shifts — not the signal feeding it. The full bit-depth of your source material arrives intact, and the display applies its own precision adjustments at the panel level.
That distinction — signal correction versus panel correction — is where the entire conversation should start.
The Hardware and Software You Actually Need
I'm not going to hand you a generic gear list with three bullet points and call it a guide. The calibration chain is only as strong as its weakest element, and every link deserves scrutiny.
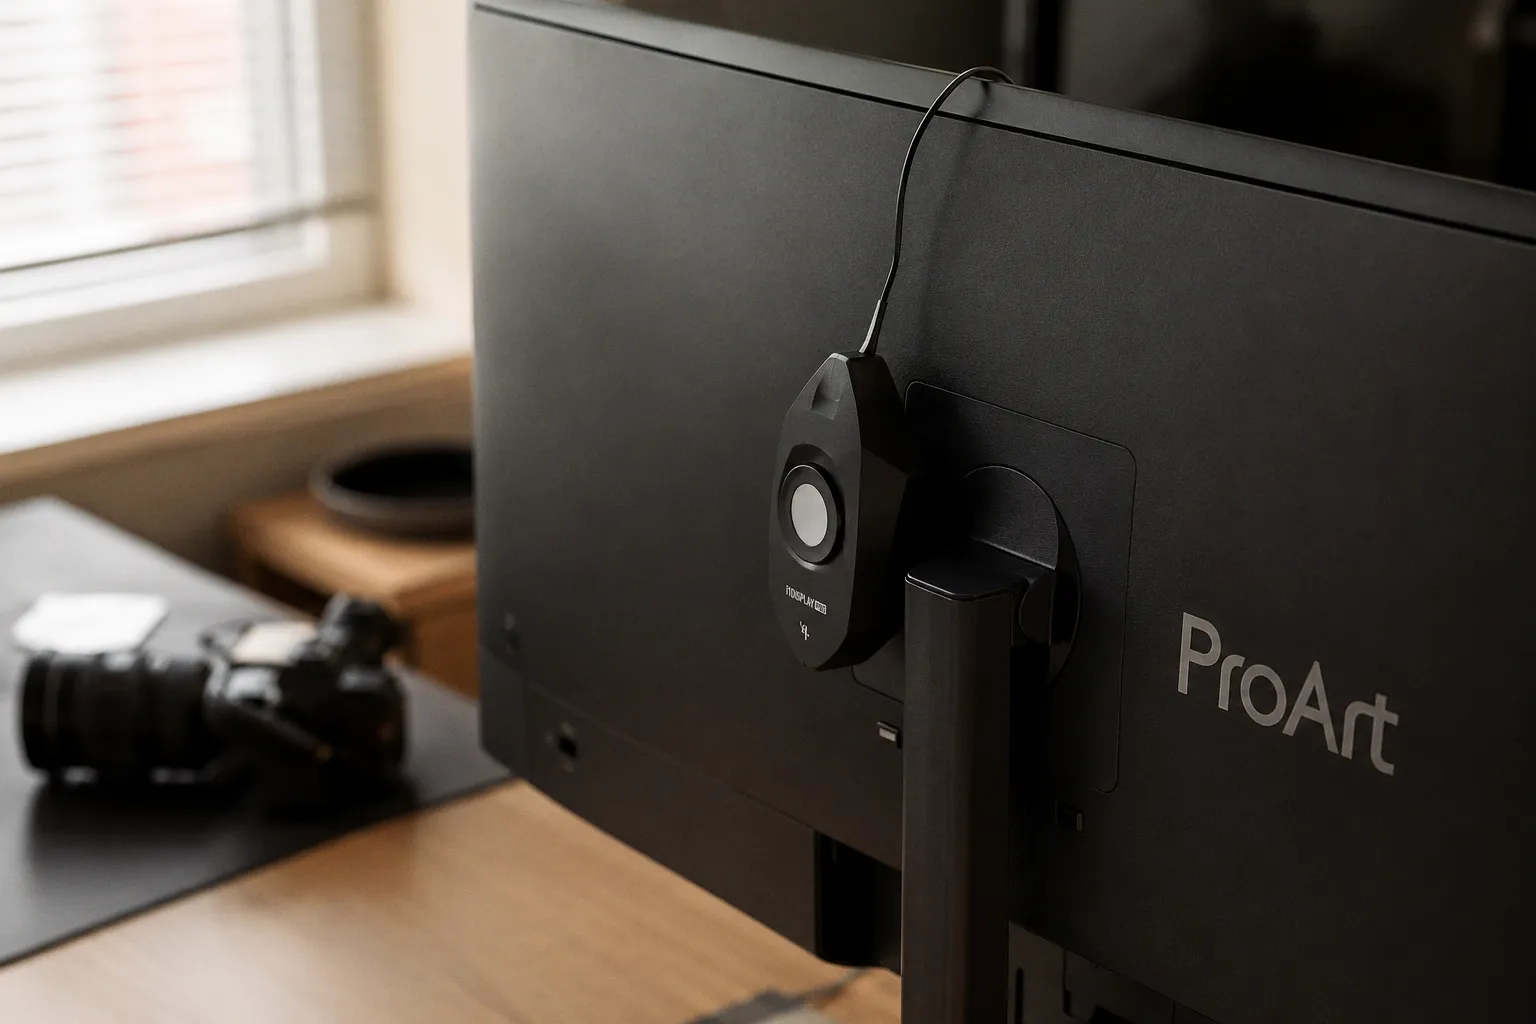
The monitor itself. The Asus ProArt lineup spans a wide range — from the PA278QV, a capable but entry-level sRGB panel, to the PA32UCG and PA32UCX, which push into HDR territory with mini-LED backlighting and hardware LUT support. For strict Rec. 709 delivery work, you need a ProArt model that explicitly supports the Asus ProArt Calibration software's hardware calibration pathway. Not every ProArt display does. Check Asus's compatibility documentation before you invest a single hour in this process, because there's nothing more dispiriting than configuring a colorimeter, running the software, and discovering it can only write to the GPU LUT on your particular model.
The colorimeter. This is the transducer of the entire system — the microphone of your color pipeline, if you'll permit me the analogy. The X-Rite i1Display Pro remains the industry workhorse; its spectral response is well-characterized and its repeatability across multiple measurement passes is tight enough for professional work. The Datacolor Spyder5 is a serviceable alternative, though I've observed slight variance in its low-light readings compared to the i1 — subtle enough for editorial monitoring, potentially consequential for final-grade precision. The Calibrite Display series (the successor to X-Rite's consumer/prosumer line) is also fully compatible. Whatever you choose, keep it stored properly and away from direct sunlight — the filters inside these instruments degrade over time, and a three-year-old colorimeter that's been rolling around in a camera bag is not a trustworthy reference.
The software. Asus ProArt Calibration is a free download from the Asus support portal. It handles the communication between your colorimeter and the monitor's internal IC — the crucial step that separates hardware calibration from the GPU LUT adjustments your operating system offers. The software supports multiple color space targets, but for our purposes you're locking onto Rec. 709 specifically.
Here's a compact comparison of the calibration pathways — and why the distinction matters at every stage of your delivery chain:
| Parameter | GPU LUT (Software Calibration) | ProArt Hardware Calibration |
|---|---|---|
| Where correction lives | Graphics card driver | Monitor's internal IC |
| Source bit-depth impact | Reduced — signal is pre-clipped | Preserved — full signal reaches panel |
| Banding risk | Elevated in gradients | Minimal |
| Portability | Lost if GPU or driver changes | Stays with the monitor |
| Rec. 709 gamma accuracy | Approximation | Precise panel-level correction |
The difference isn't subtle. It's structural. One approach compromises the signal to compensate for the panel; the other corrects the panel so the signal arrives unaltered.
Configuring Target Parameters: D65, Gamma 2.4, and Luminance
Once you've connected your colorimeter via USB and launched the ProArt Calibration software, you'll arrive at the target configuration screen. This is where precision matters — and where I see the most mistakes.
White point: D65 at 6500K. This is non-negotiable for Rec. 709 delivery. The ITU-R BT.709 specification defines D65 as the reference white, and any deviation — even a warm shift toward 5800K or a cool push to 7500K — will skew your entire perceptual field. You'll stop seeing the color accurately within minutes; human chromatic adaptation is ruthlessly efficient at normalizing whatever white your brain is anchored to. Lock D65 and don't second-guess it.
Gamma: 2.4. This is the standard for dark-room viewing environments, which is exactly what a color grading suite should be. The 2.4 curve was chosen because it compensates for the way human vision perceives tonal steps in dim ambient conditions — a psychoacoustic parallel, if you will, to the equal-loudness contours I deal with daily in audio. Just as Fletcher-Munson curves tell us that low-frequency perception flattens at quiet listening levels, the 2.4 gamma curve accounts for the way shadow detail compresses perceptually in a dark room. If your suite has significant ambient light leaking in — and I mean *any* appreciable amount — your perceived gamma will flatten regardless of what the monitor outputs, and you'll be grading against a false reference.
Luminance target: 80 to 120 cd/m². The ProArt software will prompt you for a target brightness. For Rec. 709 in a controlled suite, 100 cd/m² is the sweet spot — bright enough to resolve detail in highlights without washing out your black level, dim enough to preserve the perceptual depth of your shadows. Pushing to 120 cd/m² is acceptable if your ambient light is slightly elevated; dropping to 80 cd/m² gives you the deepest blacks but demands a genuinely dark environment. Where you land within this range depends on your room, your preference, and the nature of the content you're grading — but stay inside the range. A monitor blasting at 160 cd/m² in a dark room isn't brighter in any useful sense; it's just fatiguing.
Color gamut: Rec. 709. The software presents this as a target gamut selection. Rec. 709 uses the same primaries as sRGB — same red, green, and blue chromaticity coordinates — but the gamma curve is different, as I mentioned. Selecting sRGB here would get you the right primaries at the wrong transfer function, and that mismatch is exactly the kind of silent error that produces grades which look acceptable on your calibrated monitor but shift unpredictably on other displays.
Writing Calibration Data Directly to the Monitor's Internal IC
This is the step that separates a professional calibration from a casual adjustment, and it's the reason the ProArt Calibration software exists in the first place.
When you initiate the measurement sequence, the software displays a series of color patches — sweeps through grayscale steps, primary and secondary color ramps, and saturation targets. Your colorimeter reads each patch and reports the measured values back to the software. The software then calculates the correction needed to bring each measured point into alignment with the Rec. 709 reference, and — critically — it writes that correction into the monitor's internal integrated circuit.
What this means in practice: the monitor itself is now applying the correction. Your GPU sends a clean, unmodified signal. The monitor receives it, applies the IC-stored correction, and displays the corrected values at full bit-depth. There's no truncation, no rounding, no data thrown away at the graphics card level. The 10-bit signal (or 12-bit, if your panel and connection support it) arrives at the panel intact.
The process typically takes ten to fifteen minutes, depending on how many patches the software measures and the speed of your colorimeter. During this time:
1. Don't touch the monitor. Vibration, even minor desk movement, shifts the colorimeter's position relative to the panel and corrupts the readings.
2. Ensure the monitor has been on for at least thirty minutes. Cold panels drift — the backlight and LCD elements need thermal stability before their output is consistent enough to calibrate against.
3. Black out your room completely. Stray light falling on the colorimeter's sensor introduces measurement error, particularly in the shadow patches where the luminance values are low and the margin for error is thinnest.
4. Let the software complete the full sequence without interruption. Midway calibration aborts leave you in an indeterminate state — you won't know whether the IC holds old data, new data, or a corrupted hybrid.
The monitor's internal IC is the final arbiter of what your eyes see. If the correction lives there — stable, hardware-bound, immune to driver updates and GPU swaps — then your reference is portable, persistent, and trustworthy. If it lives in your GPU LUT, it's as fragile as the next software update.
Once the write completes, the monitor will typically restart or refresh its display pipeline. You'll see the change immediately — not as a dramatic shift, if your uncalibrated state was already in the neighborhood, but as a tightening. Grays become truly neutral. Skin tones settle into a natural warmth without drifting orange. Shadow detail that was previously crushed or noisy re-emerges with clean separation.
Validating Calibration and Managing User Presets
A calibration is only as good as its verification. After the ProArt software writes its corrections to the IC, run a validation pass — the software offers this as a post-calibration option — and examine the delta-E values it reports. Delta-E measures the perceptual distance between the target color and what the monitor actually produced after correction. A delta-E average below 1.0 across your measurement patches is excellent; below 2.0 is professional-grade; above 3.0 and you should investigate — either the colorimeter was poorly positioned, the room wasn't dark enough, or the panel has drifted beyond what software correction alone can fix.
Saving multiple hardware presets is one of the ProArt's genuinely useful features for post-production workflows. The monitor stores calibration profiles directly in its internal memory — typically two or more user modes — accessible from the on-screen display menu. Here's how I recommend using them:
1. User Mode 1: Rec. 709, D65, Gamma 2.4, 100 cd/m². This is your grading reference. Lock it. Don't touch it.
2. User Mode 2: sRGB, D65, Gamma 2.2, 120 cd/m². This is your editorial and web-preview mode — slightly brighter, matching the sRGB transfer function that most consumer displays approximate. Use it to sanity-check how your grade will appear on a typical laptop or desktop monitor.
3. A third preset (if your model supports it): DCI-P3, D65, Gamma 2.6. Only relevant if you're finishing for theatrical or wide-gamut delivery, but having it pre-calibrated and waiting eliminates the scramble when a client suddenly requests a cinema deliverable.
Switching between presets is instant — no recalibration needed, no software launch, no reconnection of the colorimeter. The IC holds each profile independently.
Recalibration cadence. Panels drift. Backlights age. The phosphor coatings on white LEDs shift their spectral output over hundreds of hours of operation. For professional color-critical work, recalibrate every four to six weeks, or immediately if you notice any perceptible shift — a warm tint creeping into your whites, a loss of shadow separation, a highlight that suddenly clips earlier than it used to. Your colorimeter will tell you the truth, but only if you put it against the screen and ask.
The Larger Principle
I spend my working life inside frequency response curves, phase relationships, and the unforgiving precision of acoustic measurement. The discipline is the same here. Calibration isn't a chore you perform once and file away — it's a living commitment to reference accuracy, a refusal to accept drift and approximation in the chain between the artist's intent and the audience's perception.
"Good enough" is the enemy of everything I do. In audio, a misaligned phase relationship smears your transient clarity. In color, a drifted gamma crushes your shadow detail. Both are silent failures — the viewer doesn't know what they're missing, but the creator's vision is compromised all the same.
Your Asus ProArt display is a precision instrument. Treat it like one. The ProArt Calibration software gives you a direct, hardware-level pathway to write reference-accurate Rec. 709 corrections into the panel itself — bypassing the compromises of GPU LUT adjustments and the fragility of software-only profiles. Lock your D65 white point. Set your gamma to 2.4. Target 100 cd/m² in a darkened room. Write to the IC. Validate. And then — only then — trust what you see.
The grade depends on it.