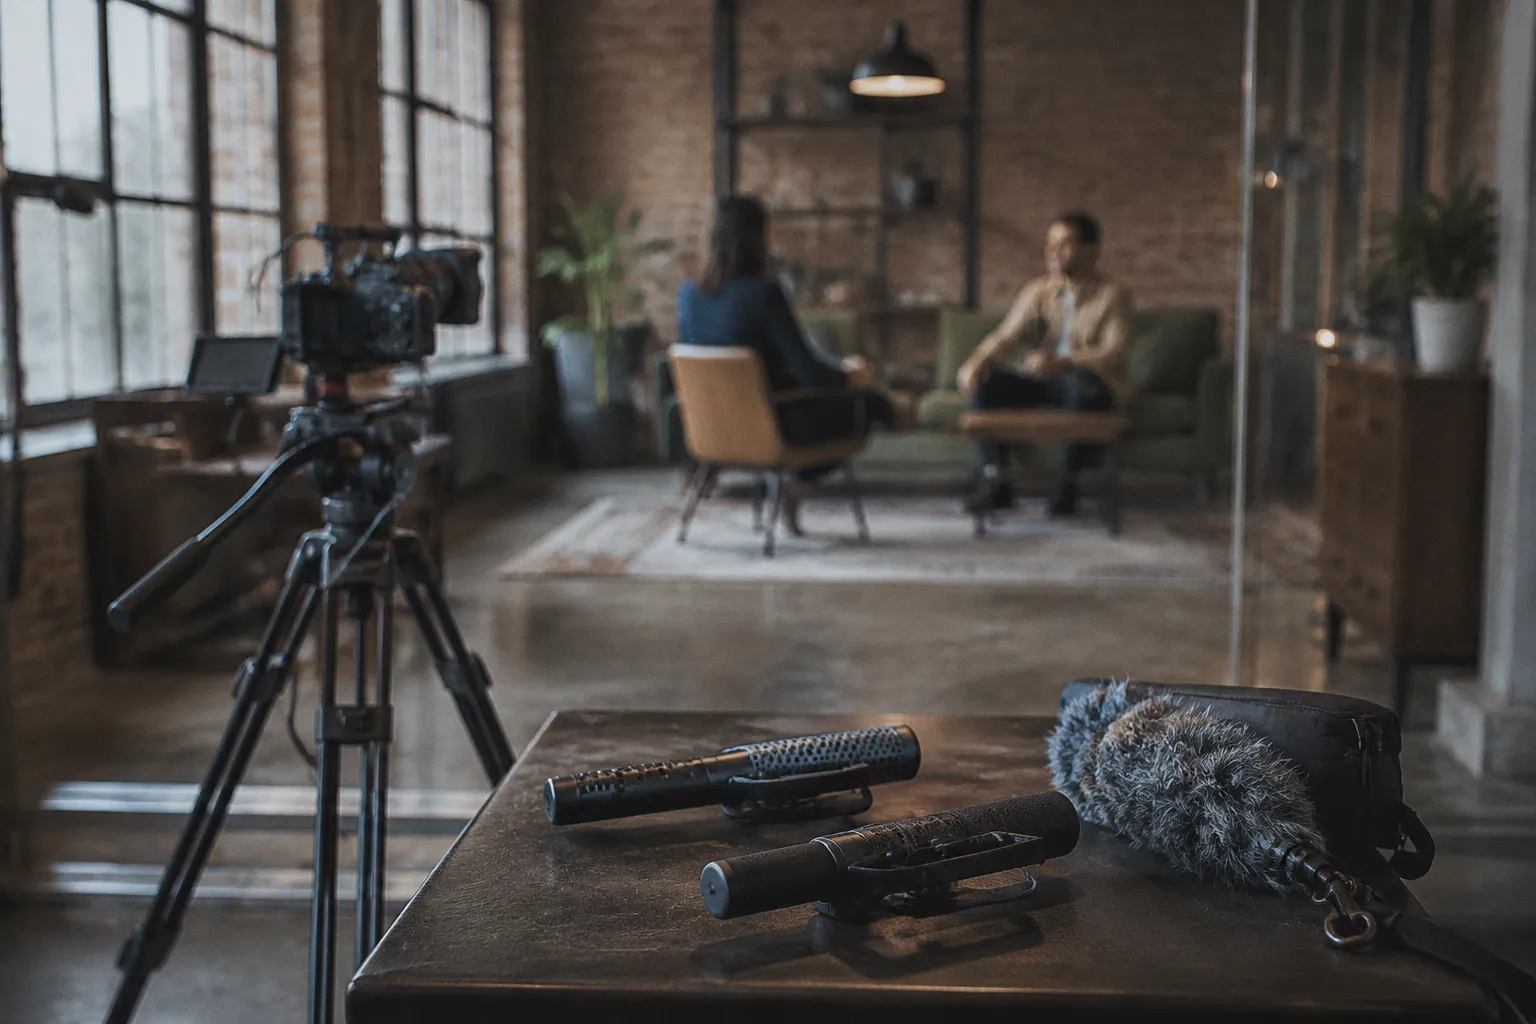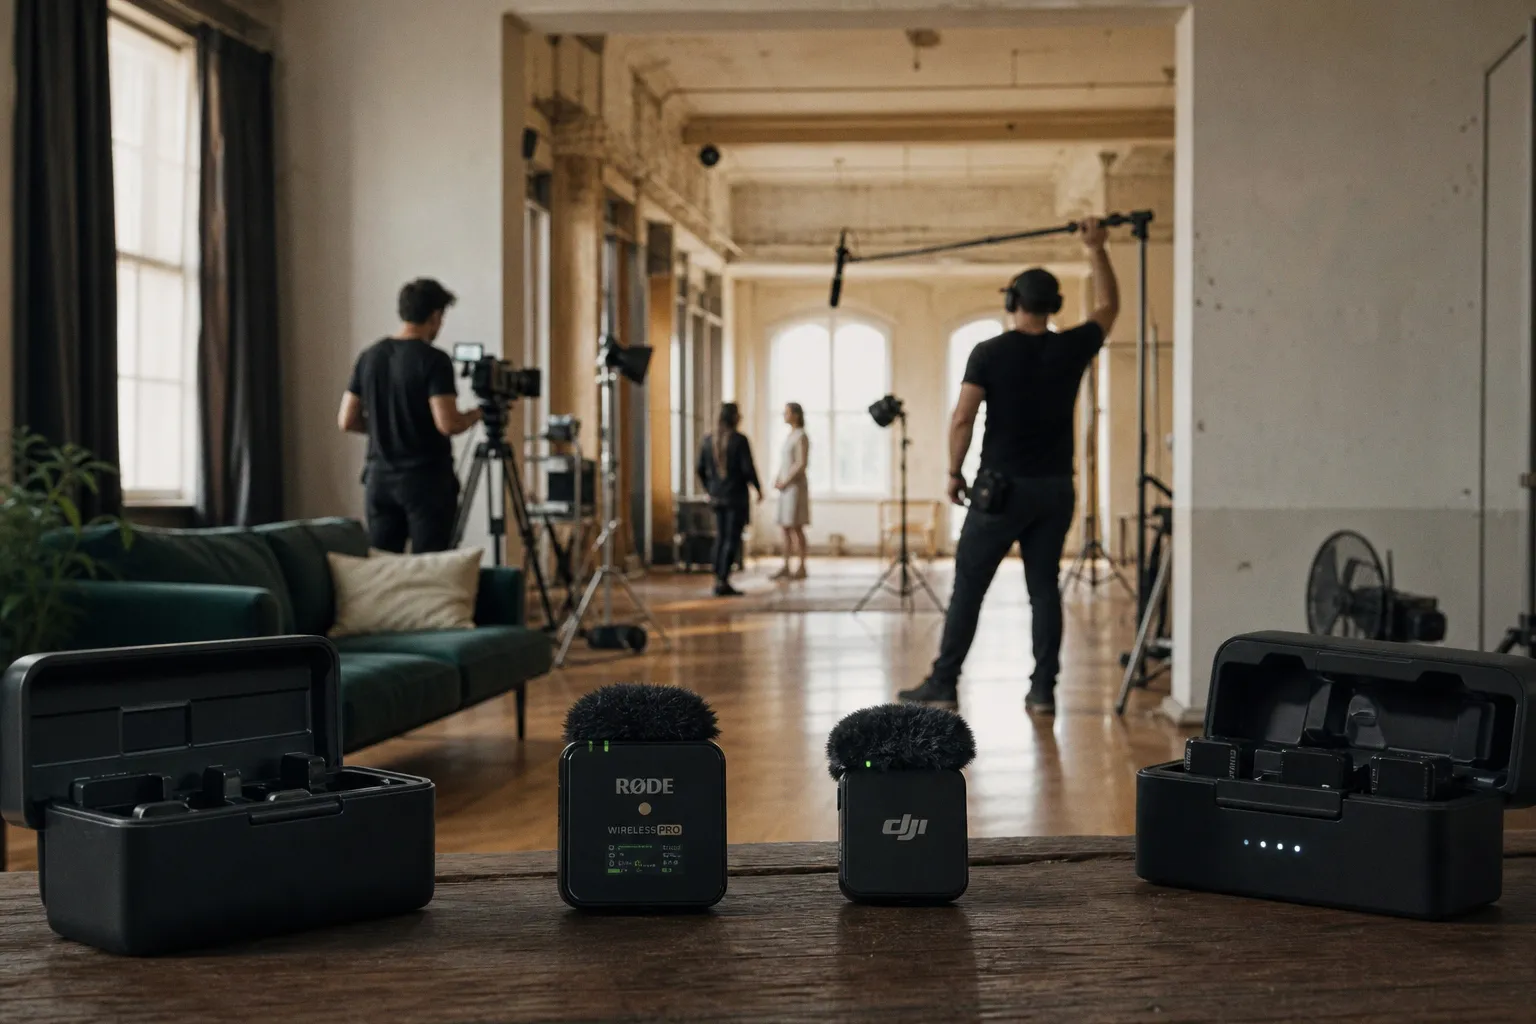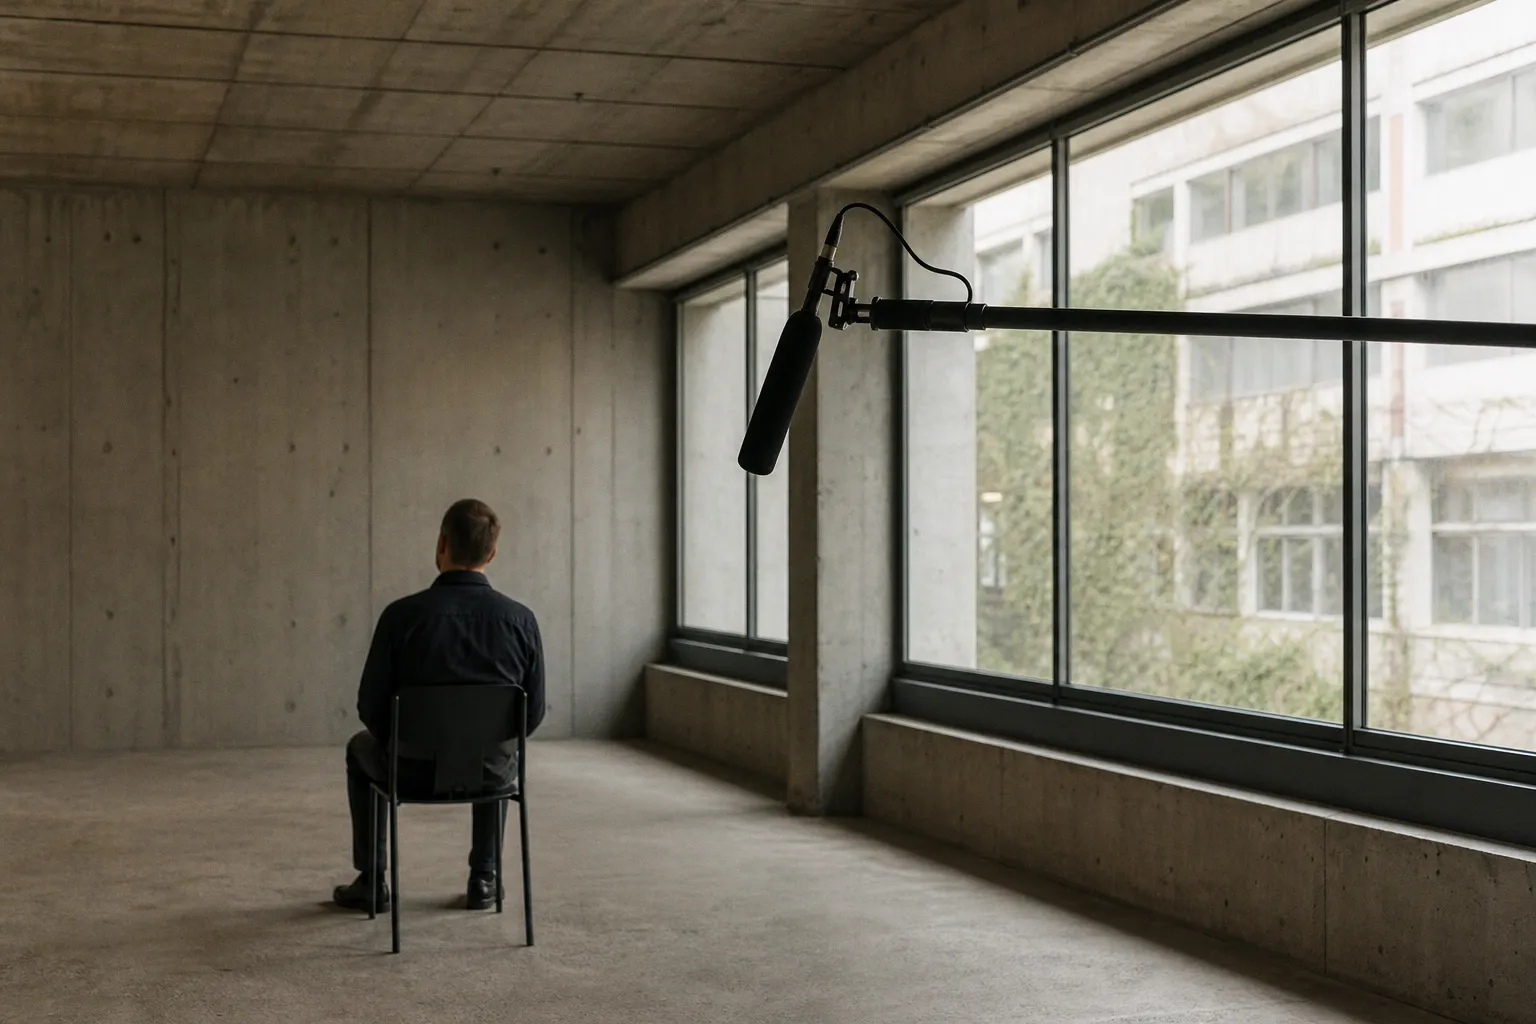
Your compact shotgun microphone is not broken. That is usually the first thing we need to say when the edit bay goes quiet and everyone starts staring at the waveform like it has personally betrayed the production.
You mounted a small on-camera shotgun mic, framed the subject in a normal room, hit record, and expected focused dialogue. Instead, the voice comes back narrow, papery, and strangely hollow — as if someone shaved the chest out of it. Outdoors, the same mic may sound perfectly usable. Indoors, especially in a hard-walled office, kitchen, bedroom, or rental studio with bare floors, it suddenly loses weight.
That thin sound is not magic and it is not a vague “bad mic” problem. It is the collision of three very specific things: the interference tube inside a shotgun microphone, short-distance room reflections, and the way compact designs handle low-mid energy.
Let’s walk the timeline back before we reach for noise reduction, EQ, or another panicked round-trip to the DAW.
The interference tube is doing its job — just in the wrong room
A shotgun microphone gets its focused pickup from an interference tube. That slotted tube in front of the capsule is not cosmetic. It is the whole trick.
Sound arriving from the front reaches the capsule more directly. Sound arriving from the sides enters the slots at slightly different times, which creates phase cancellation. That cancellation reduces off-axis sound and gives the mic its familiar forward reach. In the right conditions, that is useful. On a street, at a sports event, on a documentary exterior, or above talent outdoors, the shotgun pattern helps us reject traffic, crowd wash, and general mess.
Indoors, the same mechanism can turn against us.
A room is a reflection machine. The voice hits the wall, ceiling, desk, window, floor, and returns to the microphone milliseconds later. Those reflections are not polite. They do not arrive neatly from one angle. They come from the sides, above, below, and behind the mic. The interference tube then starts canceling pieces of that reflected sound while also receiving the direct voice.
That is where the tone thins out.
A camera mounted shotgun microphone makes this worse because it is usually too far from the mouth and too close to the camera. We ask it to reject the room, but we place it where the room is louder than we think.
The mic is not failing. The room is feeding the interference tube a phase problem and asking it to sound natural.
A long professional shotgun can sometimes behave better because its design has more physical length to shape directionality. A compact shotgun microphone, often with an interference tube under roughly 10 cm, is working with less tube length. That does not mean it is useless. It means its off-axis behavior is less forgiving, and indoors that matters.
The first diagnostic question I ask is not “Which plugin are we using?” It is: How much direct voice did we capture before the room got involved?
If the answer is “not enough,” we are already in damage control.
How room reflections become comb filtering
Comb filtering sounds like a technical phrase until you hear it in a dialogue track. Then it sounds like a producer saying, “Why does this feel cheap?”
Here is the practical version.
When the microphone captures the direct voice and a delayed reflection of the same voice, those two arrivals combine. Some frequencies reinforce. Others cancel. The result is a series of peaks and dips across the frequency spectrum. On a graph, it looks a bit like the teeth of a comb. In the edit, it sounds phasey, hollow, and thin.
Hard indoor surfaces are the usual culprits:
- painted drywall close to the subject;
- glass windows behind camera;
- bare tabletops between talent and lens;
- wood or tile floors without rugs;
- low ceilings over interview setups;
- corners that throw low-mid reflections back into the mic.
A short shotgun microphone is often sold as a neat solution for vlogging, sit-down content, and camera-top dialogue. In a quiet treated room, with close placement, it can work. In a reflective room at camera distance, it captures a complicated blend: direct speech, side reflections, ceiling bounce, rear wall slap, and handling or autofocus noise if the camera rig is busy.
That is why the track may not simply sound “reverby.” Reverb would be one problem. This is nastier. The tonal balance itself changes.
You may hear:
1. A scooped low-mid range.
The voice loses the 150–500 Hz body that makes it feel present and human. The speaker still has consonants, but the warmth collapses.
2. A papery upper-mid emphasis.
Because the low-mid energy is weakened, the 2–5 kHz region can feel exposed. Dialogue cuts through, but not pleasantly.
3. A hollow or “inside a tube” character.
This is the classic phase clue. EQ helps a little, then suddenly makes other parts worse.
4. Inconsistent tone when the subject moves.
A head turn, lean, or hand gesture changes the reflection pattern. The mic position has not moved, but the room relationship has.
5. A track that resists normal repair.
You add low end; it gets muddy. You notch harshness; it loses intelligibility. You de-reverb; the artifacts start waving at you.
That last one is where deadlines get ugly.
We can often rescue a slightly thin indoor shotgun track, but we cannot fully reconstruct a clean direct signal that was never dominant. Post-production is good at shaping captured sound. It is not good at inventing physical proximity after the fact.
Why compact models struggle more with low-end authority
Compact shotgun microphones are a compromise by design. That is not an insult. A compact mic for vlogging needs to be small, light, camera-friendly, and resistant to handling chaos. It cannot be a full-size boom rig pretending to be a tiny rectangle on a mirrorless camera.
The physics, though, do not care about our rig weight.
Shotgun directionality is frequency-dependent. At high frequencies, the interference tube can produce a narrow, focused pickup. At lower frequencies, the pattern becomes wider. Low frequencies have longer wavelengths, so they are harder to control with a small tube. This means your compact shotgun may reject some high-frequency side noise while still accepting plenty of low-frequency and low-mid room energy.
Then the reflections arrive, phase relationships get messy, and the low-mid range loses confidence.
Here is the basic comparison we make when choosing a mic for indoor dialogue:
| Indoor dialogue factor | Compact shotgun microphone | Cardioid / supercardioid indoor mic |
|---|---|---|
| Directionality method | Interference tube with phase cancellation | Capsule pattern without a shotgun tube |
| Behavior near hard walls | More prone to comb filtering from reflections | Usually more natural off-axis response |
| Low-frequency control | Wider pickup at low frequencies | Often smoother and less “phasey” indoors |
| Best placement | Close, aimed carefully, ideally in controlled space | Close boom position, just out of frame |
| Camera-top use | Convenient but distance-sensitive | Less common camera-top, better on boom or stand |
| Typical indoor failure | Hollow, thin, papery dialogue | Roomy if too far, but less tube-like coloration |
Notice the uncomfortable part: the cardioid or supercardioid is not automatically “more directional” in the marketing sense. But indoors, it may sound more believable because it does not use the same interference tube strategy that creates trouble in reflective spaces.
This is where we need to separate isolation from tone.
A shotgun may appear to isolate better on paper. But if that isolation comes with comb filtering and low-mid cancellation in a boxy room, the dialogue can be less usable than a closer non-shotgun mic with a smoother off-axis response.
For interviews, voiceover-style talking heads, and controlled interior scenes, I usually want the mic close and just out of frame. If we can boom a supercardioid properly, I will take that over a camera-top shotgun in most untreated rooms. If the camera must carry the mic, then we shorten the distance, damp the room, and accept the ceiling on quality.
Critical distance: the invisible line your mic keeps crossing
There is a point in every room where the direct voice and the reflected sound are roughly equal in level. That point is called critical distance.
In untreated indoor rooms, critical distance can be painfully short. Not “across the room” short. Sometimes “a step farther than you hoped” short.
Once the mic is beyond that line, the room becomes a co-star. For a compact shotgun microphone on top of a camera, that line is easy to cross. A presenter standing one meter away in a lively kitchen may already be giving the mic too much reflected sound. Move to two meters, and the direct voice starts losing the fight.
This is why a camera mounted shotgun microphone often disappoints in the exact scenario it was bought for: clean speech while filming solo. The framing looks right. The audio distance is wrong.
We solve this with placement before processing.
Move the mic, not the EQ curve
The fastest fix is almost always proximity. Get the microphone closer to the source.
If you are using an on-camera shotgun mic for a seated piece, try this order:
1. Take the mic off the camera if you can.
Put it on a small stand or boom arm just outside frame. Even 30–50 cm closer can change the direct-to-reflected ratio dramatically.
2. Aim at the upper chest or mouth line, not the ceiling.
A slight downward angle can reduce ceiling bounce and keep the voice centered in the pickup.
3. Kill the nearest reflections first.
A rug under the subject, a blanket over a hard desk, curtains over glass, or a duvet hung off-camera can do more than a boutique plugin.
4. Watch the rear wall behind camera.
If the mic points toward the subject, the rear wall reflection can still return into the pickup pattern. Distance and soft material help.
5. Record 20 seconds of test dialogue and listen on headphones.
Not laptop speakers. Not camera playback. Real monitoring. If you hear hollow tone in the test, the take will not become rich later.
This is also where broader production tech habits help. We already understand in camera workflows that local processing and storage choices change reliability; the same practical thinking appears in adjacent monitoring setups such as comparing local edge AI cameras with cloud storage services, where the point is not the buzzword but where the work actually happens. In audio, the equivalent question is simple: are we solving the problem at capture, or are we pushing a broken signal downstream?
For indoor dialogue, capture wins.
The compact shotgun is not useless indoors — but it needs boundaries
Let’s be fair to the tool.
A compact shotgun microphone can be useful indoors when the room is controlled, the mic is close, and the expectations are realistic. We use these mics for scratch tracks, fast social videos, behind-the-scenes coverage, compact interview rigs, and travel kits because they are quick. Speed matters. A perfect boom setup that never gets built is not better than a decent mic placed intelligently.
But the small shotgun should not be treated like a magic wand.
Use it indoors when:
- the subject is close to the camera;
- the room has soft furnishings, curtains, rugs, or acoustic treatment;
- you need a compact rig more than a pristine dialogue chain;
- the track is for web content where speed outruns perfection;
- you can monitor and adjust before the real take.
Be cautious when:
- the room has glass, tile, concrete, or bare drywall;
- the ceiling is low and reflective;
- the mic is more than an arm’s length from the speaker;
- the subject moves around while talking;
- the dialogue must survive a broadcast, commercial, or documentary mix.
For narrative work, corporate interviews, paid courses, and anything with a real post schedule, I would rather build the track correctly: boom a suitable indoor mic, plant a backup lavalier, and record into a field recorder with sane gain staging. If we must use the compact shotgun, I want a backup channel. Always.
Convenience is not the enemy. Distance is. A small shotgun close to the voice can work; a small shotgun across a reflective room is a gamble with a waveform.
What to do in post when the thin track is already on the timeline
Sometimes we do not get to redesign the shoot. We inherit the audio. The client has approved picture. The editor has cut the scene. The thin indoor shotgun track is sitting there, and the deadline is not asking how we feel.
Here is the recovery path I use before anyone starts stacking plugins like sandbags.
1. Duplicate the track and protect the original
Before destructive processing, duplicate the dialogue track or create a new playlist. Name it clearly: DX_shotgun_indoor_repair_01. We are building a repair chain, not vandalizing the source.
If you are round-tripping from Premiere Pro, Final Cut, or Resolve into a DAW, confirm handles before export. Give yourself enough audio beyond the cuts. Thin, phasey dialogue often needs room-tone smoothing and crossfade surgery.
2. Start with clip gain, not compression
If levels are jumping, normalize the performance manually first. Compression on a phasey track can pull up room reflections and make the hollow quality more obvious.
Use clip gain or automation to even the phrases. Then add gentle compression only if the voice needs containment.
3. Use EQ with restraint
A common mistake is to boost a wide low shelf and hope the body comes back. Sometimes it helps. Often it just adds room mud.
Try smaller moves:
- a modest lift around the low-mid body if the track can take it;
- a narrow cut where the boxiness honks;
- a careful dip in harsh upper mids if consonants are slicing;
- a high-pass filter only as high as necessary.
Do not carve until the voice is technically “clean” but emotionally dead. Dialogue needs mass.
4. Try de-reverb, but stop early
De-reverb tools can reduce room tail, but comb filtering is not just reverb. If the tone is phase-cancelled, no plugin fully restores what disappeared. Push de-reverb too hard and you get watery artifacts, chirping consonants, and a voice that sounds processed in a different way.
Use it as seasoning, not structural repair.
5. Build presence with parallel support
If the dialogue is thin but intelligible, a subtle parallel chain may help. Duplicate the repaired track, roll off the top, emphasize a controlled low-mid area, compress gently, and tuck it underneath. We are not faking a new voice. We are reinforcing what remains.
Check mono. Check small speakers. Check headphones. Phase problems love to hide in one playback system and shout in another.
6. Use room tone like glue
Bad indoor shotgun tracks often expose edits. The room reflection changes from line to line. Lay in consistent room tone under the scene, then crossfade carefully. This does not fix thinness, but it can make the scene feel less stitched together.
If you have no clean room tone, find the least contaminated gaps between phrases and build a bed. Keep it low. The goal is continuity, not atmosphere.
When to swap the shotgun for a cardioid or supercardioid
If you have control over the next shoot, this is the simplest decision tree: for reflective interiors, reach for a cardioid or supercardioid before a shotgun.
That does not mean every indoor shotgun take is doomed. It means the physics favor a different tool.
A supercardioid on a boom, placed close and aimed well, gives you focused dialogue without the same interference tube behavior. A cardioid can work beautifully for seated interviews, podcasts on camera, and desktop video when it is placed just outside frame. A lavalier can be the better choice if the subject moves, though clothing noise and chest resonance become their own workflow.
The right setup depends on framing, movement, wardrobe, and room behavior. But if the complaint is specifically “my compact shotgun microphone sounds thin indoors,” the answer is rarely “buy a more expensive compact shotgun first.” The answer is usually: change the microphone type, placement, or room.
Here is the field hierarchy I would follow for indoor speech:
1. Best controlled option: supercardioid or cardioid on a boom, close to talent, into a field recorder.
2. Strong backup: lavalier on a separate channel, monitored for clothing noise.
3. Fast solo setup: compact shotgun off-camera on a stand, close and angled correctly.
4. Last resort: camera mounted shotgun microphone at framing distance in an untreated room.
That last option is common because it is easy. Easy is not the same as reliable.
Before you roll next time
If we want thicker indoor dialogue, we prevent the phase problem before it reaches the timeline.
Run this quick pass before recording:
- Listen to the room before mounting the mic. Clap once, speak a line, and hear the reflections. If the room snaps back at you, the mic will hear it too.
- Keep the mic close. Camera distance is usually audio distance, and audio distance is usually the problem.
- Choose the pattern for the space. Outdoors or controlled distance? A shotgun can shine. Reflective interior? Consider cardioid or supercardioid.
- Soften the first reflection points. Floor, desk, window, and ceiling are the usual offenders.
- Monitor the test take. If the voice is hollow in headphones, stop. Do not donate that problem to post.
- Record a backup. A lavalier, second mic, or even a clean recorder track can save the edit.
- Name and slate clearly. Your future conform, sync, and mix will move faster when the audio files are not a mystery pile.
A compact shotgun microphone sounds thin indoors because it is hearing more than the voice. It is hearing the room, then its interference tube is reshaping those reflections through phase cancellation. The smaller the shotgun, the less forgiving that behavior can become in tight, reflective spaces.
So we do not panic. We move the mic closer. We tame the room. We choose a better indoor pattern when the job demands it. And when the bad track is already cut into the timeline, we repair gently, protect intelligibility, and remember the lesson for the next call sheet: clean dialogue is built at capture, not rescued by wishful EQ.