A DaVinci Resolve export can look perfect in the viewer, then open in QuickTime like someone lifted the blacks, softened the contrast, and poured a thin layer of milk over your grade. The file is not necessarily broken.
That distinction matters. Color grading with DaVinci Resolve is not just about curves, wheels, LUTs, and beautiful skin separation. It is also about metadata, gamma tags, data levels, display transforms, and the boring-but-deadly handoff between Resolve, the operating system, the player, and the screen. That handoff is where a lot of good grades get mugged.
The brutal version: your grade may be right, your export may be right, and your playback app may still show it wrong.
The QuickTime gamma trap: why the export suddenly looks washed out
Let’s hit the famous one first: the QuickTime gamma shift.
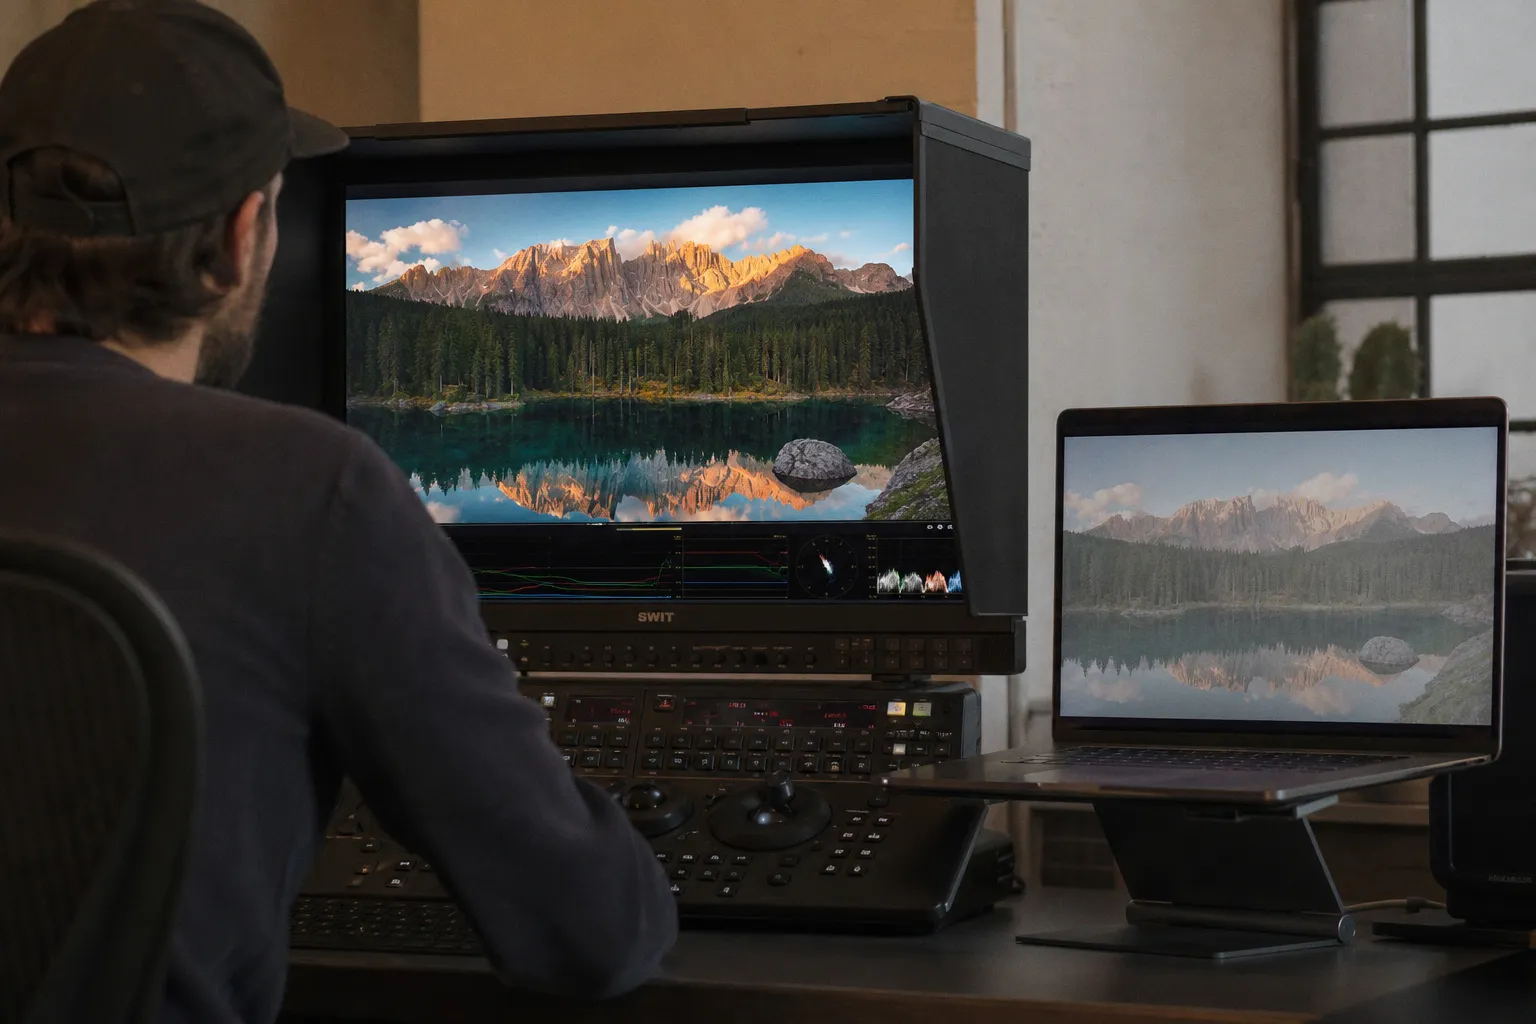
If you export a Rec.709 file from Resolve and open it in QuickTime Player on macOS, the image may look flatter and brighter than it did in the Resolve viewer. Blacks rise. Midtones drift. Saturation feels a little less confident. It’s the classic “why does my final look like a low-contrast preview?” panic.
The underlying issue is interpretation. Standard Rec.709 monitoring for video work is commonly treated around gamma 2.4 in a controlled grading environment. QuickTime has historically interpreted certain Rec.709 files with a different gamma behavior — often discussed as a 1.96-style interpretation — which can make the same file look washed out compared with Resolve’s viewer.
This is why two things can be true at once:
1. Your exported file contains the intended image values.
2. QuickTime displays those values differently from Resolve.
That is not a tiny semantic distinction. It changes the whole troubleshooting path.
If you assume the file is corrupted, you start wrecking the grade to compensate. You crush blacks, over-saturate, add contrast, export again, open in QuickTime, and cheer because it “matches.” Then you upload it somewhere else and it looks too crunchy. Congratulations: you just graded for one player’s interpretation instead of for a delivery standard.
The export is not always the crime scene. Sometimes QuickTime is just the witness with bad lighting.
For studio owners and post supervisors, this is where workflow discipline beats vibes. Don’t judge the entire grade from one consumer playback app. QuickTime is useful, fast, and everywhere in Apple pipelines — but it is not a calibrated reference monitor.
Rec.709, Rec.709-A, and the Apple display reality
DaVinci Resolve gives you a few ways to tag exports, and one of the most discussed for Apple workflows is Rec.709-A. The “A” is commonly treated as an Apple-oriented tag that helps QuickTime and Apple display pipelines interpret the gamma in a way that more closely matches what you saw in Resolve.
Is Rec.709-A magic? No. Is it a practical workaround? Very often, yes.
If your client reviews on a MacBook, your director watches cuts in QuickTime, and the agency signs off from an iMac in a bright office, Rec.709-A can reduce the nasty mismatch between your Resolve viewer and their Apple playback environment. It is not a replacement for proper monitoring, but it can keep the review loop from turning into a color-management cage fight.
Here is the useful split:
| Delivery situation | Export tag to consider | What it helps with | What it does not solve |
|---|---|---|---|
| Broadcast-style Rec.709 review on calibrated video monitoring | Rec.709 / gamma 2.4 workflow | Maintains standard video grading assumptions | Does not make QuickTime a reference viewer |
| Mac/QuickTime-heavy client review | Rec.709-A | Often reduces washed-out QuickTime appearance | Does not guarantee identical appearance across browsers |
| Web delivery with mixed devices | Rec.709 or sRGB-aware workflow depending on pipeline | Keeps metadata closer to expected consumer playback | Cannot control every screen, browser, or OS color pipeline |
| Internal VFX roundtrip | Match the project and facility color pipeline | Avoids transform stacking and accidental shifts | Does not fix bad LUT order or unmanaged plates |
The key is not “always use Rec.709-A.” The key is: know who is watching, where they are watching, and what your master is supposed to be.
That sounds obvious until you’ve seen a commercial approved in QuickTime, uploaded to a platform, then re-opened in Chrome on a Windows laptop and flagged as “too dark.” Welcome to modern delivery: one file, five engines interpreting the trip differently.
This is not unique to filmmaking, by the way. Every digital industry is fighting the same handoff problem: the service may be correct, but the layer presenting it changes the experience. Banking teams talk about “digital-first” infrastructure for exactly that reason, and the same platform logic shows up in stories like PBCOM moving to Temenos SaaS for digital-first banking services — the back end and the front end have to agree, or users feel the mismatch. In post-production, your “front end” might be QuickTime, Safari, Chrome, Vimeo, an OLED TV, or a client’s over-bright laptop.
Data levels: the silent Full vs Video ambush
If gamma is the headline villain, data levels are the knife in the dark.
Resolve exports video with data levels that define how pixel values are mapped. The two big ranges:
- Video levels: 16–235 for luma in an 8-bit-style scale.
- Full levels: 0–255.
When those are interpreted correctly, everything behaves. When they are mismatched, your image shifts hard.
A Full-range file interpreted as Video can look too contrasty, with crushed shadows and clipped highlights. A Video-range file interpreted as Full can look washed out, with lifted blacks and dull contrast. It can feel exactly like a bad grade, but the grade is not the root problem. The scale is being read wrong.
Resolve has an Auto setting for data levels. Auto can be convenient, especially in fast editorial turnovers. But in a controlled finishing pipeline, Auto is also where ambiguity sneaks in. Depending on codec, wrapper, and metadata interpretation, another app may not make the same assumption Resolve made.
So if you are chasing a DaVinci Resolve color shift on export, inspect the data levels before you start tearing apart your color grading nodes setup.
A practical approach:
1. For standard video delivery, use Video levels unless the delivery spec asks otherwise. Most conventional Rec.709 video workflows expect legal/video range.
2. For image sequences, VFX pulls, or certain graphics workflows, Full may be appropriate. Especially when moving EXRs, DPX, or CG renders through a pipeline that expects full-range values.
3. Do not mix assumptions between timeline, export, and playback. If your viewer expects one range and your file is tagged as another, the picture will lie to you.
4. Test with scopes, not just eyes. If the waveform shows your blacks and whites where expected inside Resolve, then the weirdness may be downstream.
This is where Resolve’s scopes are not optional decoration. They are the instrument panel. If your image looks lifted in QuickTime but your waveform in Resolve shows proper black placement, don’t panic-grade. Verify the file in another player or import it back into Resolve.
If your scopes say one thing and QuickTime says another, don’t let QuickTime win by default.
Your node tree is not always the problem — but it can be
Let’s talk about the color grading nodes setup because, yes, sometimes the export shift is not just metadata. Sometimes the node graph is doing something you forgot about at 1:12 a.m.
A clean node tree makes export troubleshooting faster. A messy tree turns every issue into a ghost hunt.
Here is the classic danger pattern: camera transform in one node, creative LUT in another, a timeline-level LUT hiding in Project Settings, then an output color space transform somewhere else. The image looks good in the moment because you adjusted around it. Then you export, use a different tag, send it to another player, and suddenly the transform stack exposes itself.
For modern Resolve work, especially with mixed cameras, I like to separate intent:
- Input normalization: camera log or raw into the working space.
- Balance: exposure, contrast, white balance, shot matching.
- Look development: film emulation, palette shaping, halation/glow if used.
- Secondaries: skin, wardrobe, product, sky, windows, cleanup.
- Output transform: the final move into Rec.709, HDR, or whatever delivery requires.
If you use a DaVinci Resolve color space transform node, know exactly where it lives. A CST at the beginning of the tree behaves very differently from a CST at the end. A LUT designed for log footage placed after a Rec.709 conversion can create bizarre contrast and saturation behavior. A display transform accidentally baked twice can make your export feel “wrong” even though the technical tags are fine.
The same applies to timeline nodes and group nodes. Resolve is powerful because color can happen at clip, group pre-clip, group post-clip, timeline, and output levels. That flexibility is rocket fuel. It is also how you accidentally grade through a hidden transform and then wonder why the render doesn’t match the viewer you thought you were looking at.
Before blaming gamma, do a fast sanity pass:
1. Disable timeline nodes and check the image.
2. Check for project-level LUTs or output LUTs.
3. Confirm whether Resolve Color Management is active or you are in DaVinci YRGB manual mode.
4. Verify that any Color Space Transform nodes use the correct input gamma, input color space, output gamma, and output color space.
5. Re-import the exported file into the same Resolve project and compare it on the scopes.
That last move is gold. If the exported file re-imports and matches your timeline in Resolve, the file is probably carrying the image correctly. The shift is likely happening in playback interpretation.
DaVinci YRGB vs color managed workflows
A lot of export confusion begins earlier than export: Project Settings.
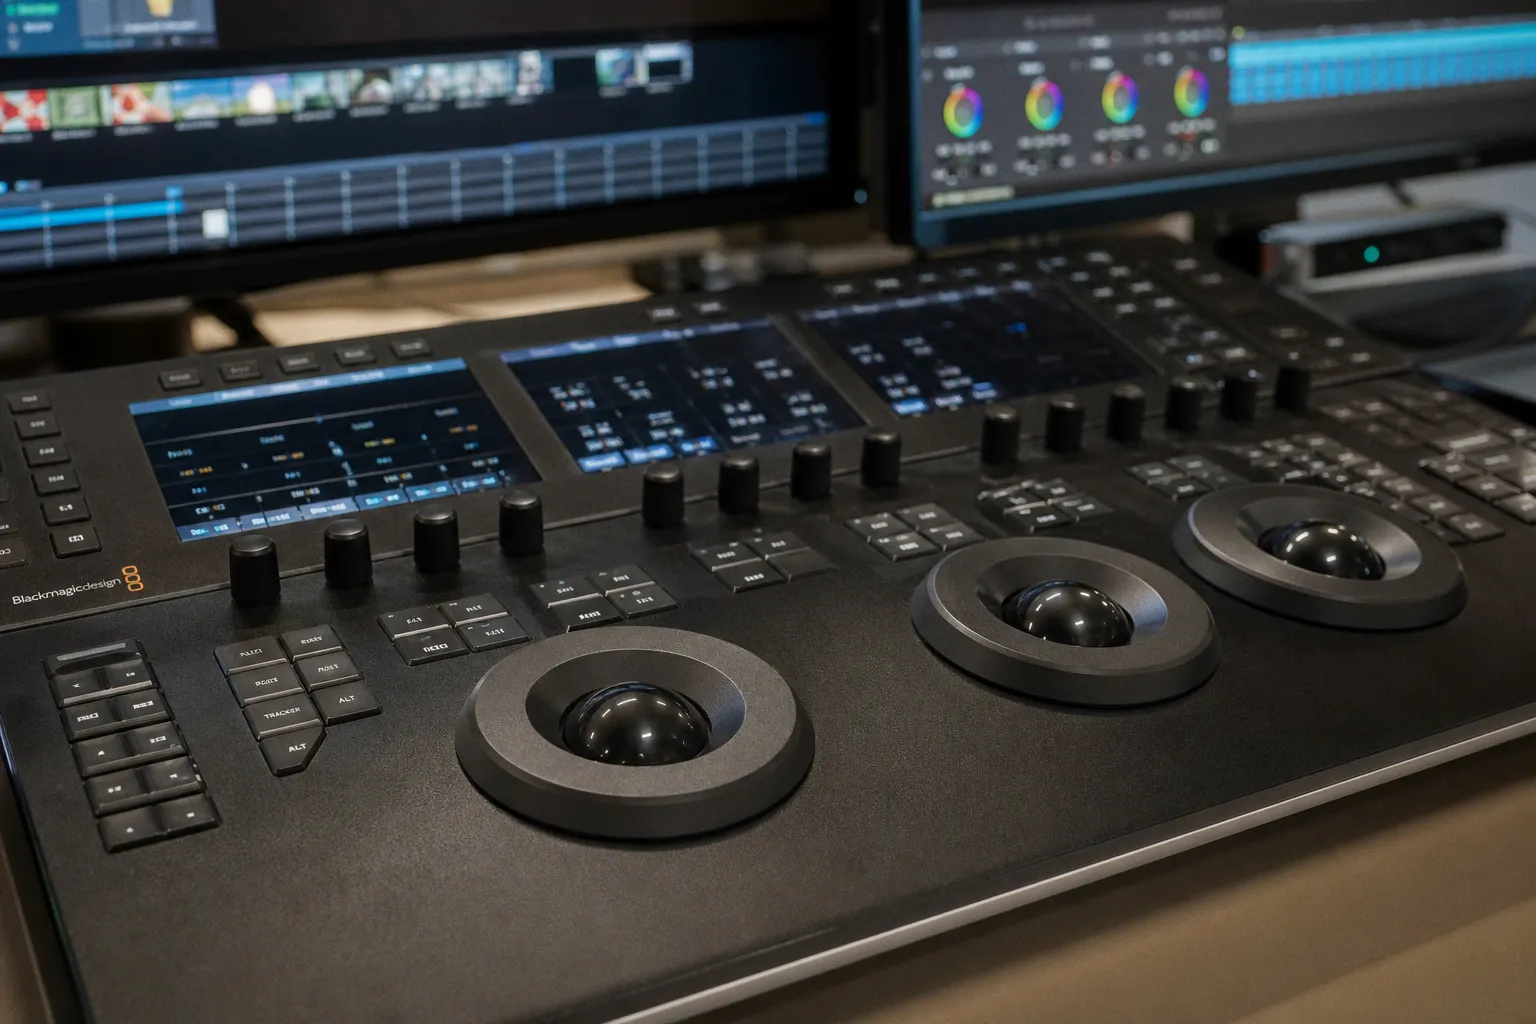
If your project is set to DaVinci YRGB, Resolve is mostly letting you manage the color pipeline manually. That can be excellent. It can also be chaos if you are mixing log footage, phone clips, screen recordings, drone material, CG renders, and stock footage without a deliberate transform strategy.
If your monitor is calibrated to one target, your timeline is treated as another, and your output color space is not clearly defined, the Resolve viewer may not represent the same transform path your final file will take in the wild.
Resolve Color Management can help by making the pipeline more explicit. It can map input color spaces into a working space and then into an output color space. But it is not a “make my grade correct” button. Bad input tagging still creates bad output. A log clip interpreted as Rec.709 will not become accurate just because the menu looks sophisticated.
The crucial question is simple: where does the image become Rec.709?
There are three common answers:
| Workflow | Where conversion happens | Strength | Risk |
|---|---|---|---|
| Manual CST nodes | In the node tree | Maximum control per shot or camera | Easy to stack transforms accidentally |
| Resolve Color Management | Project-level pipeline | Cleaner for mixed camera workflows | Wrong input tags can poison the pipeline |
| LUT-based conversion | LUT node or output LUT | Fast, familiar, often camera-specific | LUT may combine technical and creative changes |
None of these is automatically superior. The win is consistency. Early adopters love to jump between workflows because the new tool looks faster. I get it. I live in that frontier too: AI-assisted rotoscoping one minute, real-time rendering tests the next, neural radiance fields eating a location scout budget in the background. But in finishing, speed without repeatability is just a faster way to generate doubt.
If you are delivering commercial work, create a house pipeline. Name it. Document it. Test it. Make every editor and colorist use the same assumptions for Rec.709, sRGB, HDR, data levels, and export tags.
Monitor calibration: your screen may be telling a different story
There is another trap: the Resolve viewer is only as trustworthy as the display path behind it.
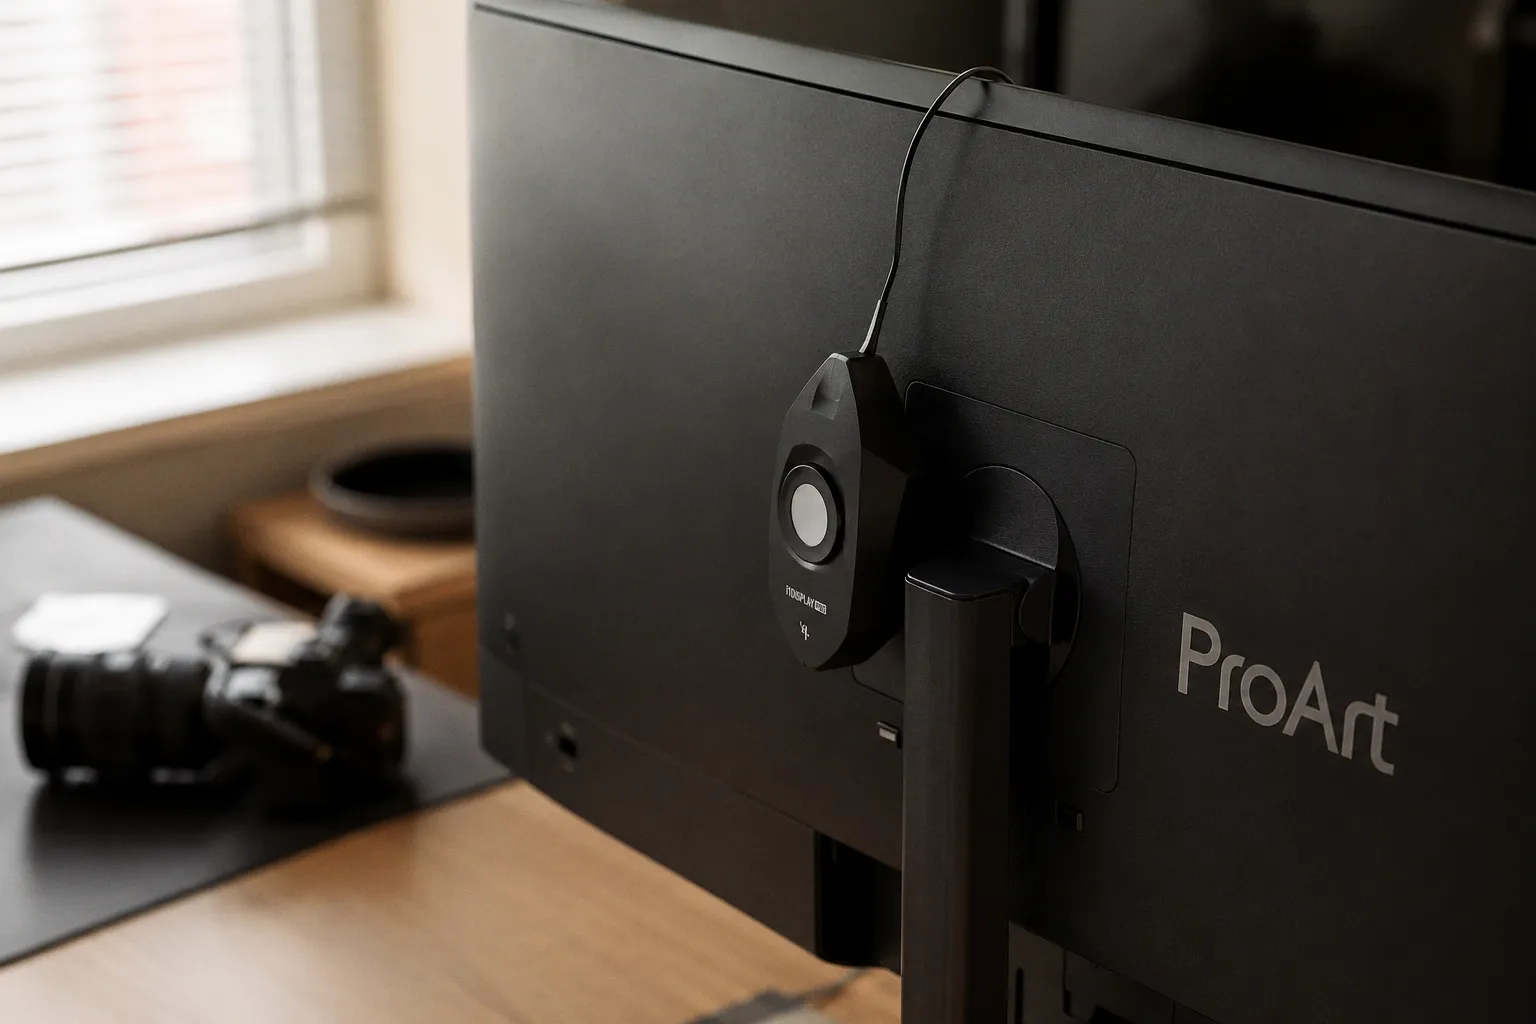
If you are grading on a GUI monitor without a calibrated video output device, you are relying on the operating system, GPU, monitor profile, and Resolve’s viewer behavior to stay honest. Sometimes they do. Sometimes they improvise.
A proper grading setup uses a calibrated reference display fed through a clean video output path, not just the computer desktop pipeline. That matters because desktop color management can vary by operating system, GPU driver, browser, and app. The research reality is messy: behavior on non-Apple hardware can vary significantly because Windows and Linux systems involve different GPU driver color management and browser rendering engines.
So no, changing a monitor profile in macOS or Windows is not a universal gamma shift fix for Resolve. It may change what you see locally. It does not change how the file is interpreted on someone else’s machine. That is the difference between correcting your room and correcting the deliverable.
For smaller studios, the practical target is not perfection on every screen. That is fantasy. The target is a controlled reference point.
A sensible minimum for web and commercial delivery:
- Use a calibrated monitor, not factory “vivid” mode.
- Avoid judging final color in a bright room with shifting daylight.
- Keep Resolve’s project color management consistent across jobs.
- Export short test clips before full renders.
- Review in multiple players, but choose one reference environment.
- Use scopes for objective checks when apps disagree.
The punchline: you cannot control every client display. You can control your pipeline enough to know when a complaint is a real file issue and when it is a playback issue.
How to verify the export without chasing shadows
The fastest way to lose half a day is to compare Resolve to QuickTime to VLC to a browser to a phone to an uploaded platform, with no plan. Every app becomes a suspect. Every screen becomes evidence. Nobody sleeps.
Use a verification ladder instead.
Start inside Resolve. Export a short section with skin tones, deep shadows, saturated color, and highlights. Re-import that export into the project. Put it above the original timeline section. Compare with scopes. If the waveform and parade match closely, the render is probably technically consistent.
Then open the same file in multiple players. QuickTime may show the gamma shift. VLC may look closer to Resolve. A browser may do its own thing. This tells you how the file travels through common viewing environments.
Then test the actual delivery platform if there is one. YouTube, Vimeo, Frame.io-style review systems, social platforms, and streaming apps may transcode the file. Transcoding can change perceived sharpness, compression artifacts, chroma detail, and sometimes color handling. If the final audience will see it through a platform, platform testing beats local guessing.
For client approval, I like a small note baked into the process, not the video: “Color is reviewed against the calibrated reference export; consumer players may vary.” Not defensive. Just clear. The same way a virtual production stage specifies lens tracking, LED refresh, genlock, and color pipeline before the shoot, post should specify the review environment before the grade gets emotionally litigated.
A fast troubleshooting path that actually works
When the export shifts, move in this order:
1. Check whether the export re-imports correctly into Resolve. If it matches on scopes, the issue is likely playback interpretation, not a destroyed file.
2. Inspect export color tags. For Apple-heavy review, test Rec.709-A against standard Rec.709.
3. Set data levels manually. Avoid relying on Auto when you are diagnosing. Test Video vs Full only with intent.
4. Confirm project color management. DaVinci YRGB, Resolve Color Management, ACES, CST nodes — know which system is driving the transform.
5. Look for hidden transforms. Timeline LUTs, output LUTs, group nodes, compound clips, Fusion comps, and plugin behavior can all change the path.
6. Test outside QuickTime. Use another player and, if relevant, the actual upload platform.
7. Stop adjusting the grade until you know where the mismatch occurs. Otherwise you are steering by a bent speedometer.
That last point is the one I’ll tattoo on every finishing suite door if someone gives me a vinyl cutter.
The real answer: export shifts are pipeline mismatches, not mysteries
So why does color grading with DaVinci Resolve shift on export?
Usually because the image is crossing boundaries: Resolve viewer to file metadata, file metadata to player, player to OS color management, OS to display. Gamma tags, Rec.709 interpretation, Full vs Video data levels, and unmanaged color transforms are the usual pressure points.
The fix is not one magic checkbox. Rec.709-A can help with QuickTime and Apple review environments. Manual data levels can eliminate range ambiguity. A deliberate DaVinci Resolve color space transform strategy can keep your node tree from becoming a trap. Proper monitoring gives you a reference that is not hostage to a consumer app.
The next two years are going to make this more urgent, not less. AI denoisers, neural relighting, real-time VFX plates, synthetic bokeh, cloud review, virtual production color pipelines — all of it moves faster when the finishing chain is trustworthy. Studios that nail color management now will spend less time apologizing for “washed-out exports” and more time shipping sharper work.
The future-facing move is simple: treat export color like a pipeline, not a render button. That is where the shift stops being a mystery and becomes a controllable handoff.